How to Bake Bread in Your Own Kitchen
Ah, bread! That simple, almost magical creation—warm, pillowy, with the smell of home wafting through the air like an invitation to comfort. But baking it? In your kitchen? Seems impossible, right? No way you can replicate the artisanal wonder of a bakery in your own humble abode. Well, think again. Grab your flour, don’t overthink, and let’s dive into the world of home-baked goodness!
Step 1: Gather Your Ingredients
Before we dive headfirst into the flour storm, let’s take a moment. You need a few essential things:
- Flour (all-purpose, bread flour, you name it—choose wisely, but don’t stress about it too much)
- Water (preferably lukewarm, but if you use cold, be bold—bread’s not picky)
- Yeast (either active dry or instant—just don’t go using old packets you found in the back of your cupboard)
- Salt (don’t forget it, bread without salt is like a song without a melody)
- Optional sugar or honey (for a little extra oomph—depends on the vibe you want)
Step 2: Mix It Up
Alright, here comes the fun part. Mix your yeast with warm water (not hot enough to burn your soul, but warm enough to wake up the yeast from its dormant slumber). Give it a gentle stir and let it sit for 5–10 minutes. If it’s bubbly and alive, you’re on the right track. If not, don’t panic—just grab some fresh yeast.
Now, pour this yeast potion into a bowl with your flour and salt. That’s right, throw ‘em in there like you’re a wizard mixing spells—no need for precision, just a little bit of chaos. Add a touch of water at a time until the dough starts to come together, kind of like the first clumsy steps of a baby deer. Trust the process, but also, trust your hands.
Step 3: Kneading the Dough
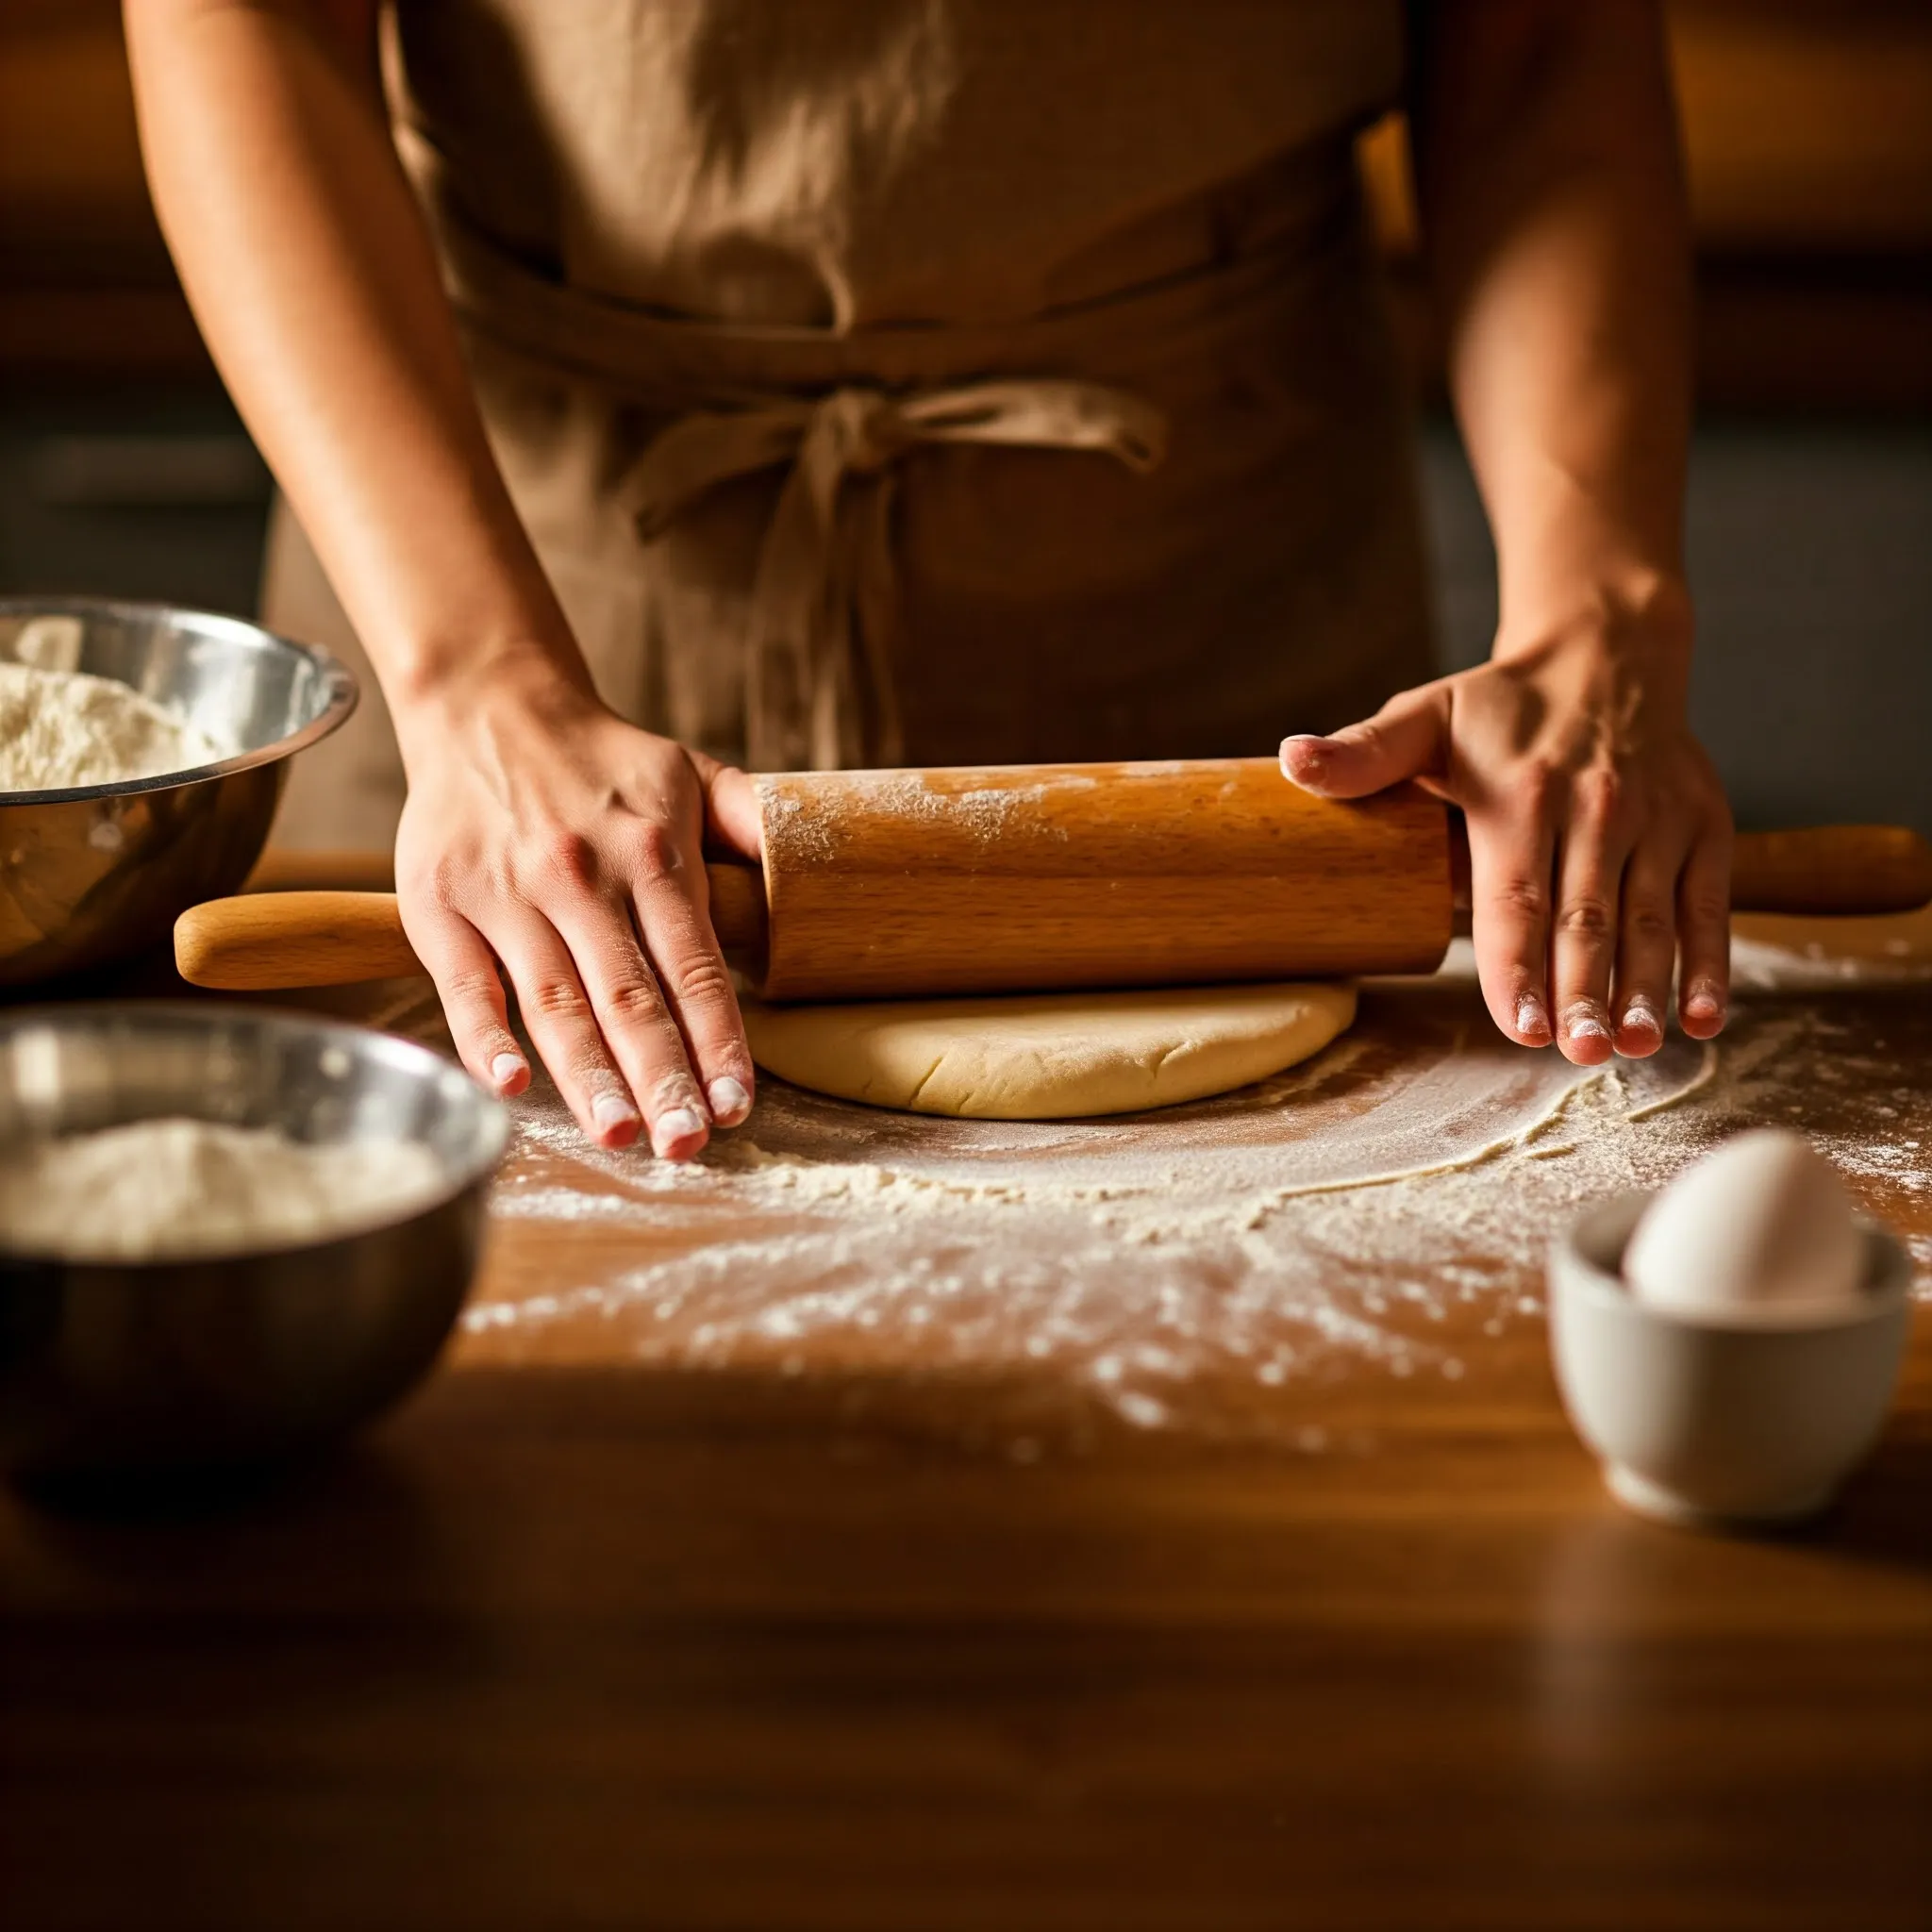
Now, the dough's ready for its workout. Knead. Knead like you’re trying to give this dough a reason to live. You can go by hand or machine, but don’t be shy to get your hands dirty. If you’re doing it by hand, turn the dough out onto a floured surface and begin to fold, push, turn, and fold again. Repeat this for 8-10 minutes. It’s a workout for you and the dough. You want it smooth, stretchy, and just a little bit tacky—but not too sticky. If it’s too sticky, sprinkle a bit more flour. Too dry? A splash of water will do the trick.
Step 4: Let It Rise—And Be Patient!
Here’s where the time magic happens. Place your dough in a lightly oiled bowl, cover it with a damp towel, and let it rise for at least an hour, maybe longer if you’re feeling adventurous. The dough should double in size—think of it as it’s transforming into its final form, like a superhero emerging from a cocoon.
Now, don’t just sit there staring at it. Go do something fun—watch a show, read a book, or think about your next move. But, whatever you do, don’t rush the dough. It knows what it’s doing. Trust it.
Step 5: Punch Down and Shape
Once your dough has risen, it’s time for the punchdown. No, you’re not angry, you’re just deflating the dough to release excess air bubbles. Give it a gentle punch and watch the magic as it deflates like an inflatable bouncy castle after a rowdy party.
Then, shape it. Shape it like you’re molding your dreams into reality. Whether you want a round boule or a long, slender baguette, the world’s your oyster. Just make sure it’s not too tight or too loose—just... right.
Step 6: Second Rise & Preheat
Once shaped, let your dough rise again—this time for 30 minutes to an hour, depending on how impatient you are. While it’s rising, preheat your oven to a scorching 475°F (245°C). Yes, it’s hot. Yes, you’re ready.
Step 7: Bake the Bread!
Time to face the oven. Place your dough inside, and don’t just slam the door shut like you’re tossing in a pizza—be gentle, but quick. And then? Magic happens. Watch the dough puff up and transform, crackling and browning in the heat like it’s becoming something more than just flour and water.
After 25–30 minutes (depending on your oven), the bread should be golden and crisp. Give it a tap on the bottom—if it sounds hollow, it’s done. If not, let it bake for a few more minutes. You’ll know when it’s right.
Step 8: Cool & Enjoy
When the bread emerges from the oven, resist the urge to cut into it immediately. Let it cool. The crust needs time to settle, and the flavors to finish their grand performance. This is the hardest part, but the payoff? Oh, it’s worth it.
Once it’s cooled enough to handle without burning your fingers, slice away, but be careful—you might just devour the whole thing in one sitting. Or maybe that’s just me.
Conclusion: The Simple Joy of Bread
Baking bread isn’t just about mixing flour and yeast—it’s about creating something from scratch, something that’s a bit more alive and unpredictable than you might expect. The smell, the warmth, the satisfaction—it’s all part of the experience. So go ahead, embrace the imperfection, the messiness, and the blissful joy that comes with baking bread in your very own kitchen.