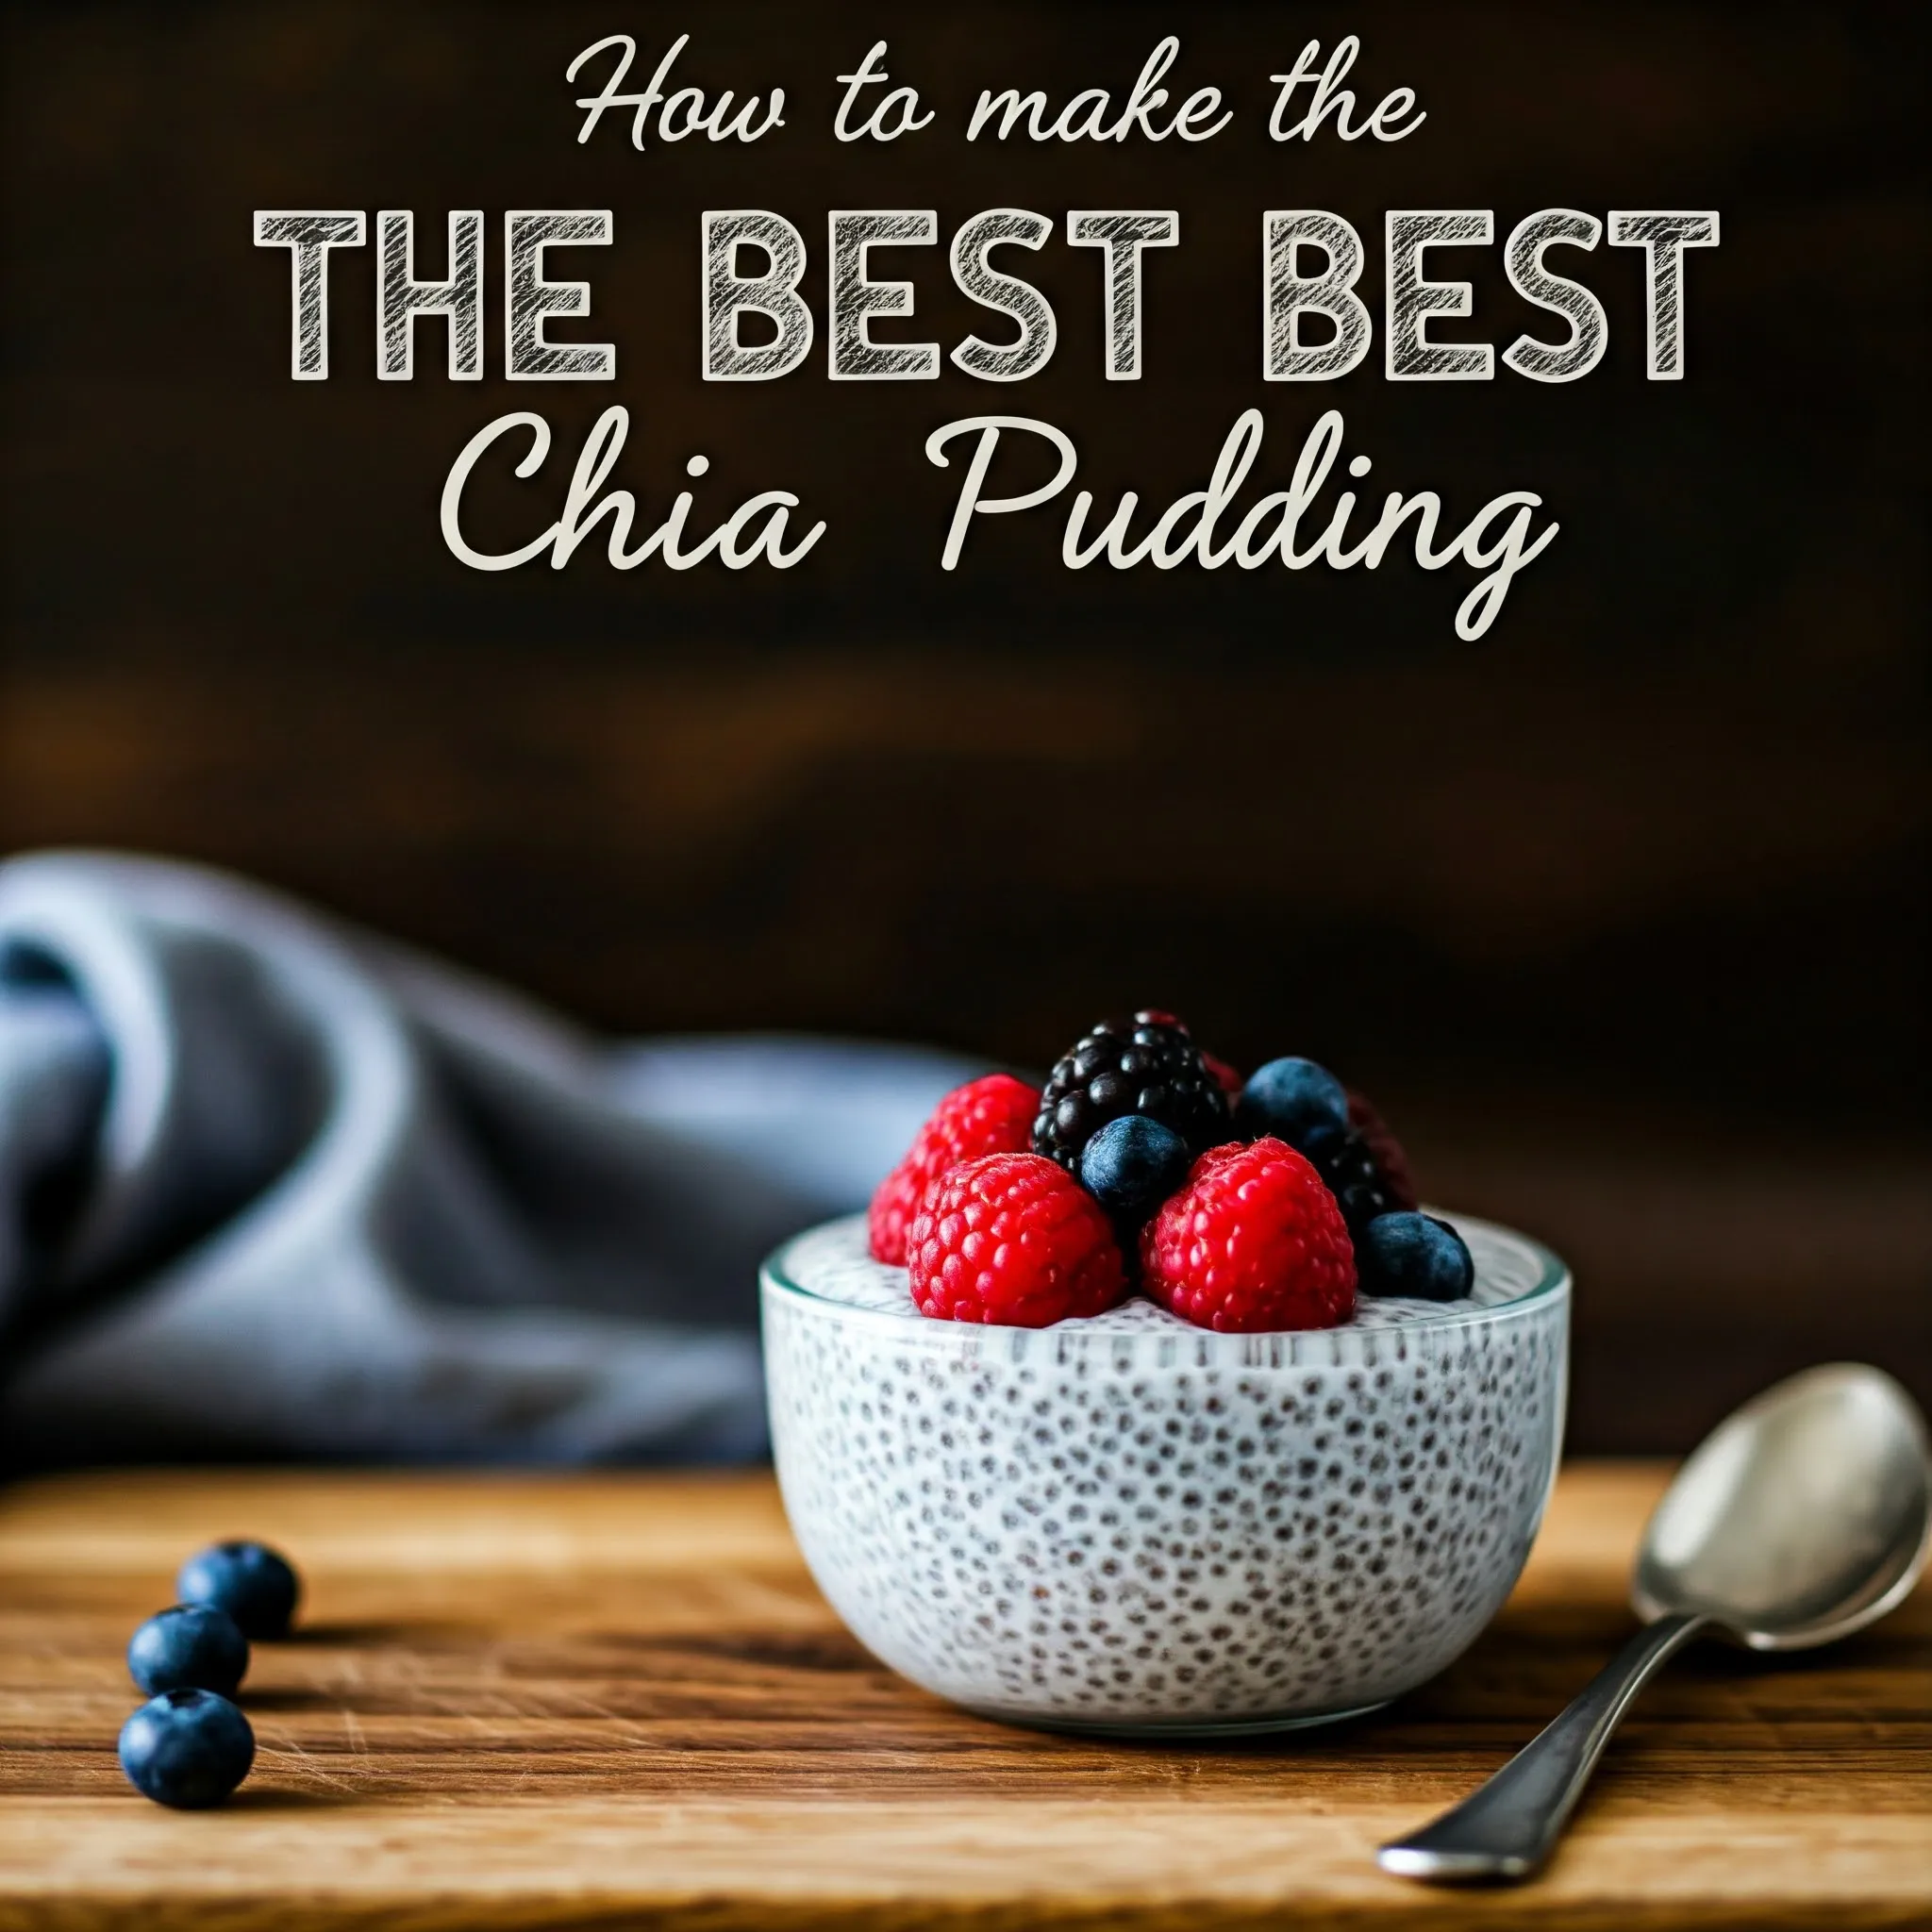
How to Make the Best Chia Pudding
Oh, chia pudding. Is there any breakfast (or snack) that’s quite as versatile, as tantalizingly simple, and as mind-bogglingly healthy as this magical concoction? I think not. A spoonful of this creamy, gelatinous masterpiece could make you rethink what it means to truly *live*.
The Ingredients: Tiny But Mighty
Let’s begin with the foundation—the ingredients. You could go the basic route, or you could dive into the land of flavor explosions. First, we have the chia seeds, of course. These little guys are tiny in size but *mighty* in what they offer: fiber, omega-3s, and a hearty dose of antioxidants. They are the unsung heroes of the superfood world. But wait, there’s more. You’ll need:
- Chia seeds – 3 tablespoons (Do it. They’re the magic beans.)
- Milk of your choice – 1 cup (Almond, coconut, oat—you name it. The world is your oyster!)
- Sweetener – honey, maple syrup, agave (the world is equally *sweet* here)
- Vanilla extract – just a teaspoon of vanilla, because why not?
- Toppings – berries, nuts, granola, or… more chia seeds (because you’re extra, right?)
Step 1: The Magic Mix
Here’s the thing: don’t overthink it. Take your chia seeds, plop them in a bowl, and pour in your choice of milk. Stir. Stir like your very life depends on it—or at least until the seeds are well incorporated into the liquid. This is where the magic begins. The chia seeds will soon start to expand, absorbing the liquid, turning everything into a thick, almost creamy consistency. It’s science, but it feels like a bit of a culinary wizardry.
Step 2: Sweeten the Deal
Now, take a breath. Add your sweetener. It doesn’t matter if you’re feeling like a drizzle of honey or a splash of maple syrup; both are acceptable, nay—necessary, in this moment. A teaspoon of vanilla extract? Yes, please. This is the part where your chia pudding goes from a science experiment to dessert-level indulgence. Stir again. No, more. Until it’s perfectly smooth and seductive.
Step 3: The Waiting Game
Ah, yes. The waiting. Patience is key here. You’ll need to refrigerate the concoction for at least 2 hours, or—if you’re the kind of person who plans ahead—a whole night. The chia seeds will continue to swell, expanding into a soft, pudding-like texture that is *everything*. But beware: a small impatience can ruin this. Wait. It’s worth it.
Step 4: Top It Off
Once your chia pudding is set, the fun doesn’t stop. Oh no, we’re just getting started. Toppings. Pile them on! Fresh berries? Absolutely. A dollop of almond butter? Go for it. Sliced bananas, shredded coconut, or even a handful of dark chocolate chips. Make it yours. Go crazy. Who’s stopping you?
Final Thoughts: The Chia Revolution
And there you have it—simple, yet complex. Healthy, yet indulgent. Chia pudding is more than just a snack; it’s a reflection of what it means to take the mundane and elevate it to the extraordinary. It’s not just about the ingredients or the time—it’s about making something that feels like it has purpose, even if it’s just to nourish your body and soul for a few blissful moments.
So go ahead. Make your chia pudding. And remember: the best part of all? You can make it yours, every time, in a thousand different ways.